Layout Name:
"Taylor Falls Branch Line"
Layout Status:
active
Track Type:
S
Layout Space:
11' x19', plus 2' x 18'
Layout Style:
Oval/Rectilinear with branch line
Track Manufacturer:
handlaid, Tomalco turnouts
Rail Size:
code 100
Min. Turnout Frog:
#4
Min. Radius:
34"
Ruling Grade:
1.5"
Track Height(s):
47" - 56"
Mainline Track Length:
65' main; 75' branch
Completed:
benchwork: 100%, track: 100%, scenery: 100%
Setting:
Midwest
Railroad(s) Modeled:
NP, St. Paul & Duluth
Control System:
DCC (Digitrax)
Featured In:
NASG Dispatch, Jan 2025
S Gaugian Jan 2017, Mar 2017
NASG Dispatch, Sep 2016
S Gaugian May 2016
Notes:
The layout has been featured in NASG Dispatch cover photos for the March 2018, September 2019, and January 2020 issues.
Videos:

Today a short freight train is crossing the tall Howe Truss and Trestle bridge, heading up the Taylor Falls branch line.

On another day we find a passenger train coming from the branch.

Here is a standard-gauge Shay moving logs up the branch line, probably heading to "L" on the track plan, the log unloading facility.

The passenger train is moving into the Branch Line extension part of the layout. If you follow along on the track plan, this is the spot where the circle with the number "51" is shown. The line passes over the track with the lift out, which is partially visible on the right-hand side of the photo.

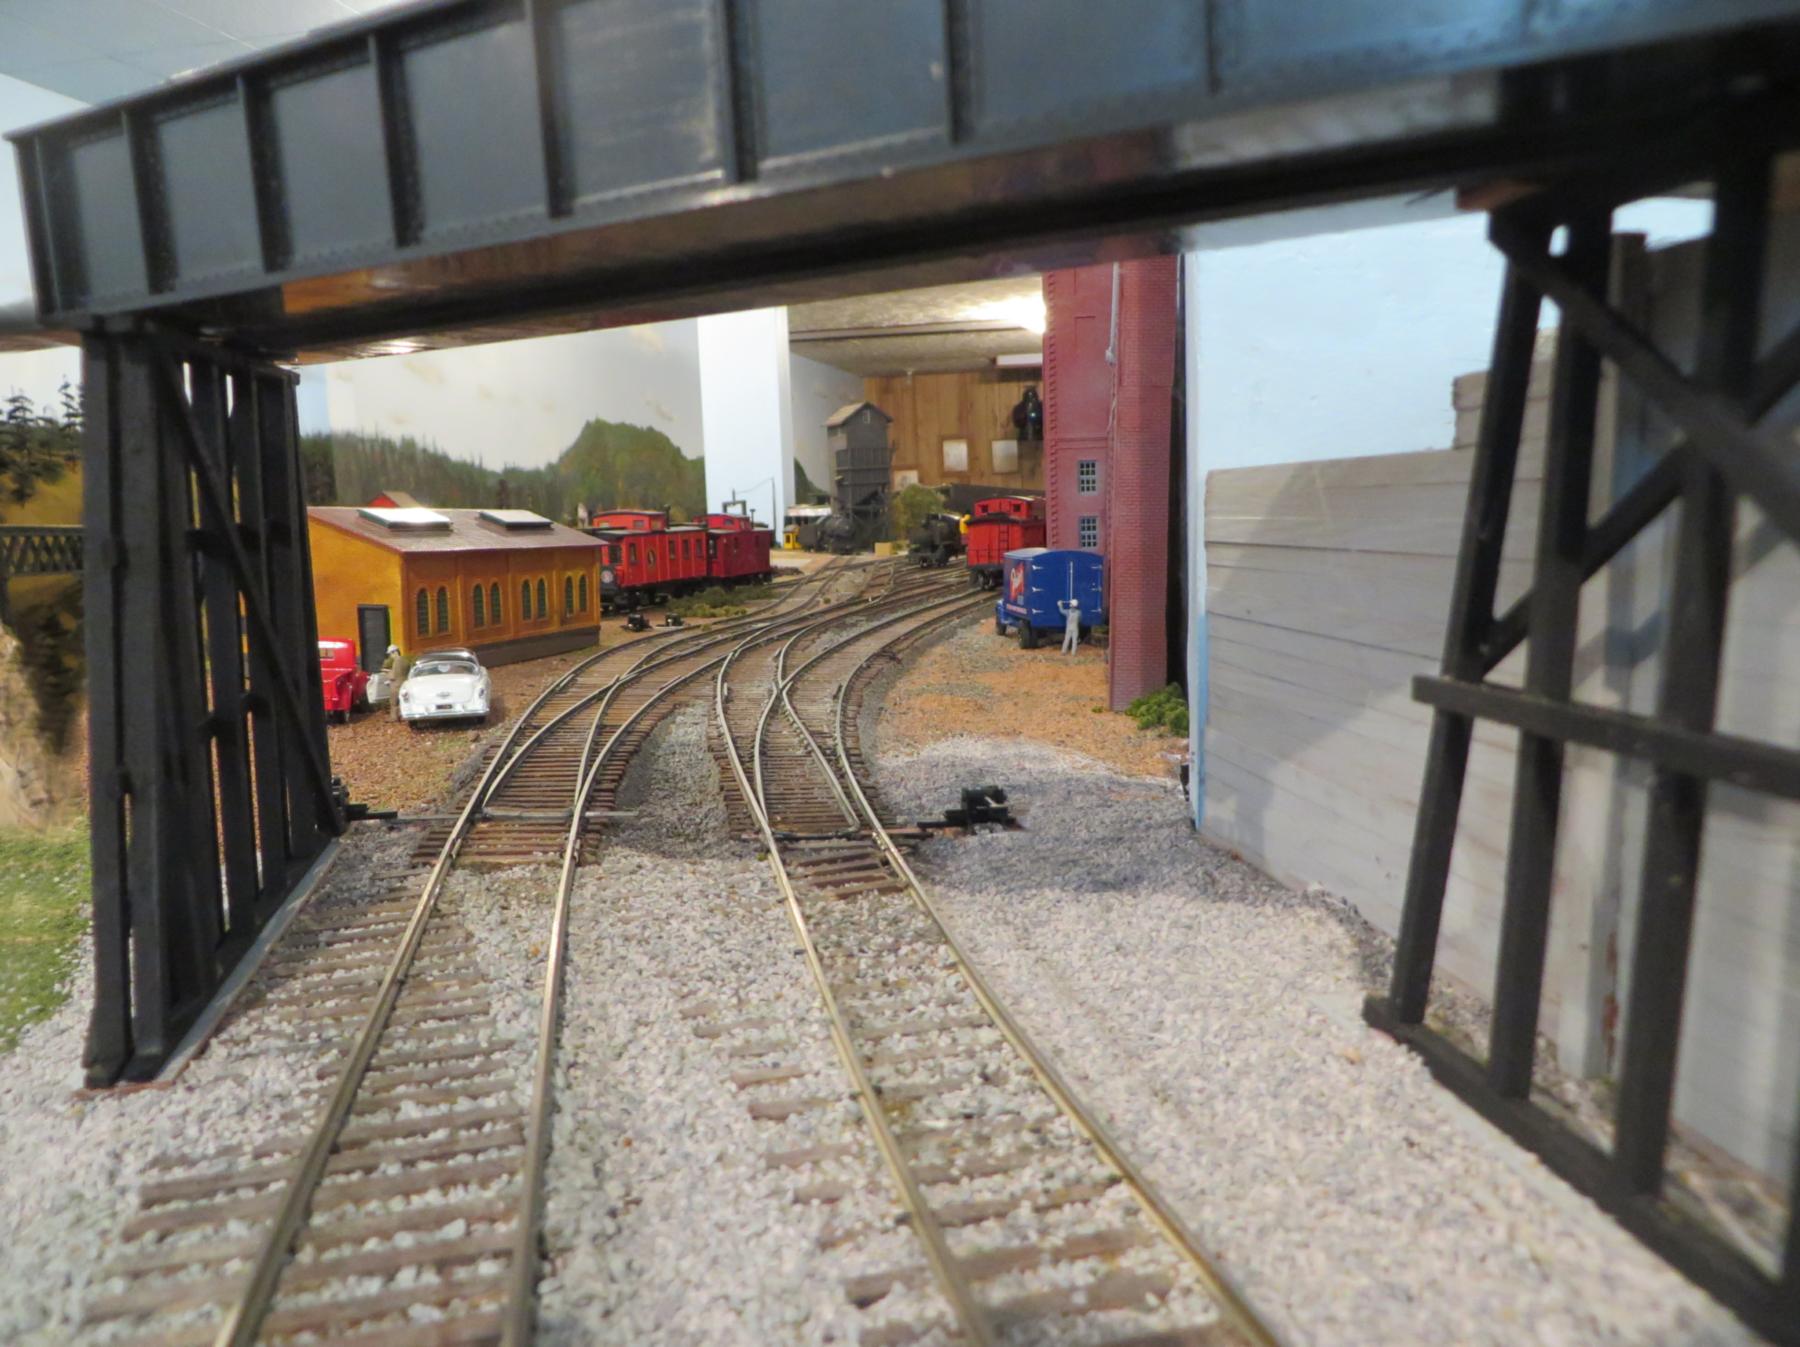
This view is of the Branch Line extension entrance. The red building is Taylor Falls Depot, marked "D4" on the track plan.

At the turn of the last century, the St. Paul & Duluth railroad was running two passenger trains a day from St. Paul to the Wisconsin border along with one afternoon way freight. The morning passenger train was designated as "first class", but it commonly carried a stock car at the head end so that farmers could get their cattle to market in four hours instead of an all day ordeal for the cattle on the slow freight. This view shows this first class train as it leaves the depot shortly after the Northern Pacific bought the St. Paul & Duluth in 1900. The passenger cars are Kinsman kits and the stock car was produced by Mainline Models.

Moving further to the right, we see the passenger cars crossing on a bridge marked "50" on the track plan. The circles with numbers in them on the track plan indicate the track height from the floor at that location.


We are now on the other side of the bridge, looking back toward it. The turntable is marked "T3" on the track plan. The small red building on the far left is "H", which is the section house.

We are moving further to the right on the Branch Line. The engine house is marked "E" on the track plan.

The aforementioned turntable and engine house are in the background, but the foreground shows the start of the stock yard, marked as "S" on the track plan


This is an older photo, which gives a view of how the layout was constructed. The large engine house in the foreground is marked as "T" on the track plan. The Branch Line extension shown in the previous photos is just off to the right of this photo. The ore cars are positioned on the lift out.

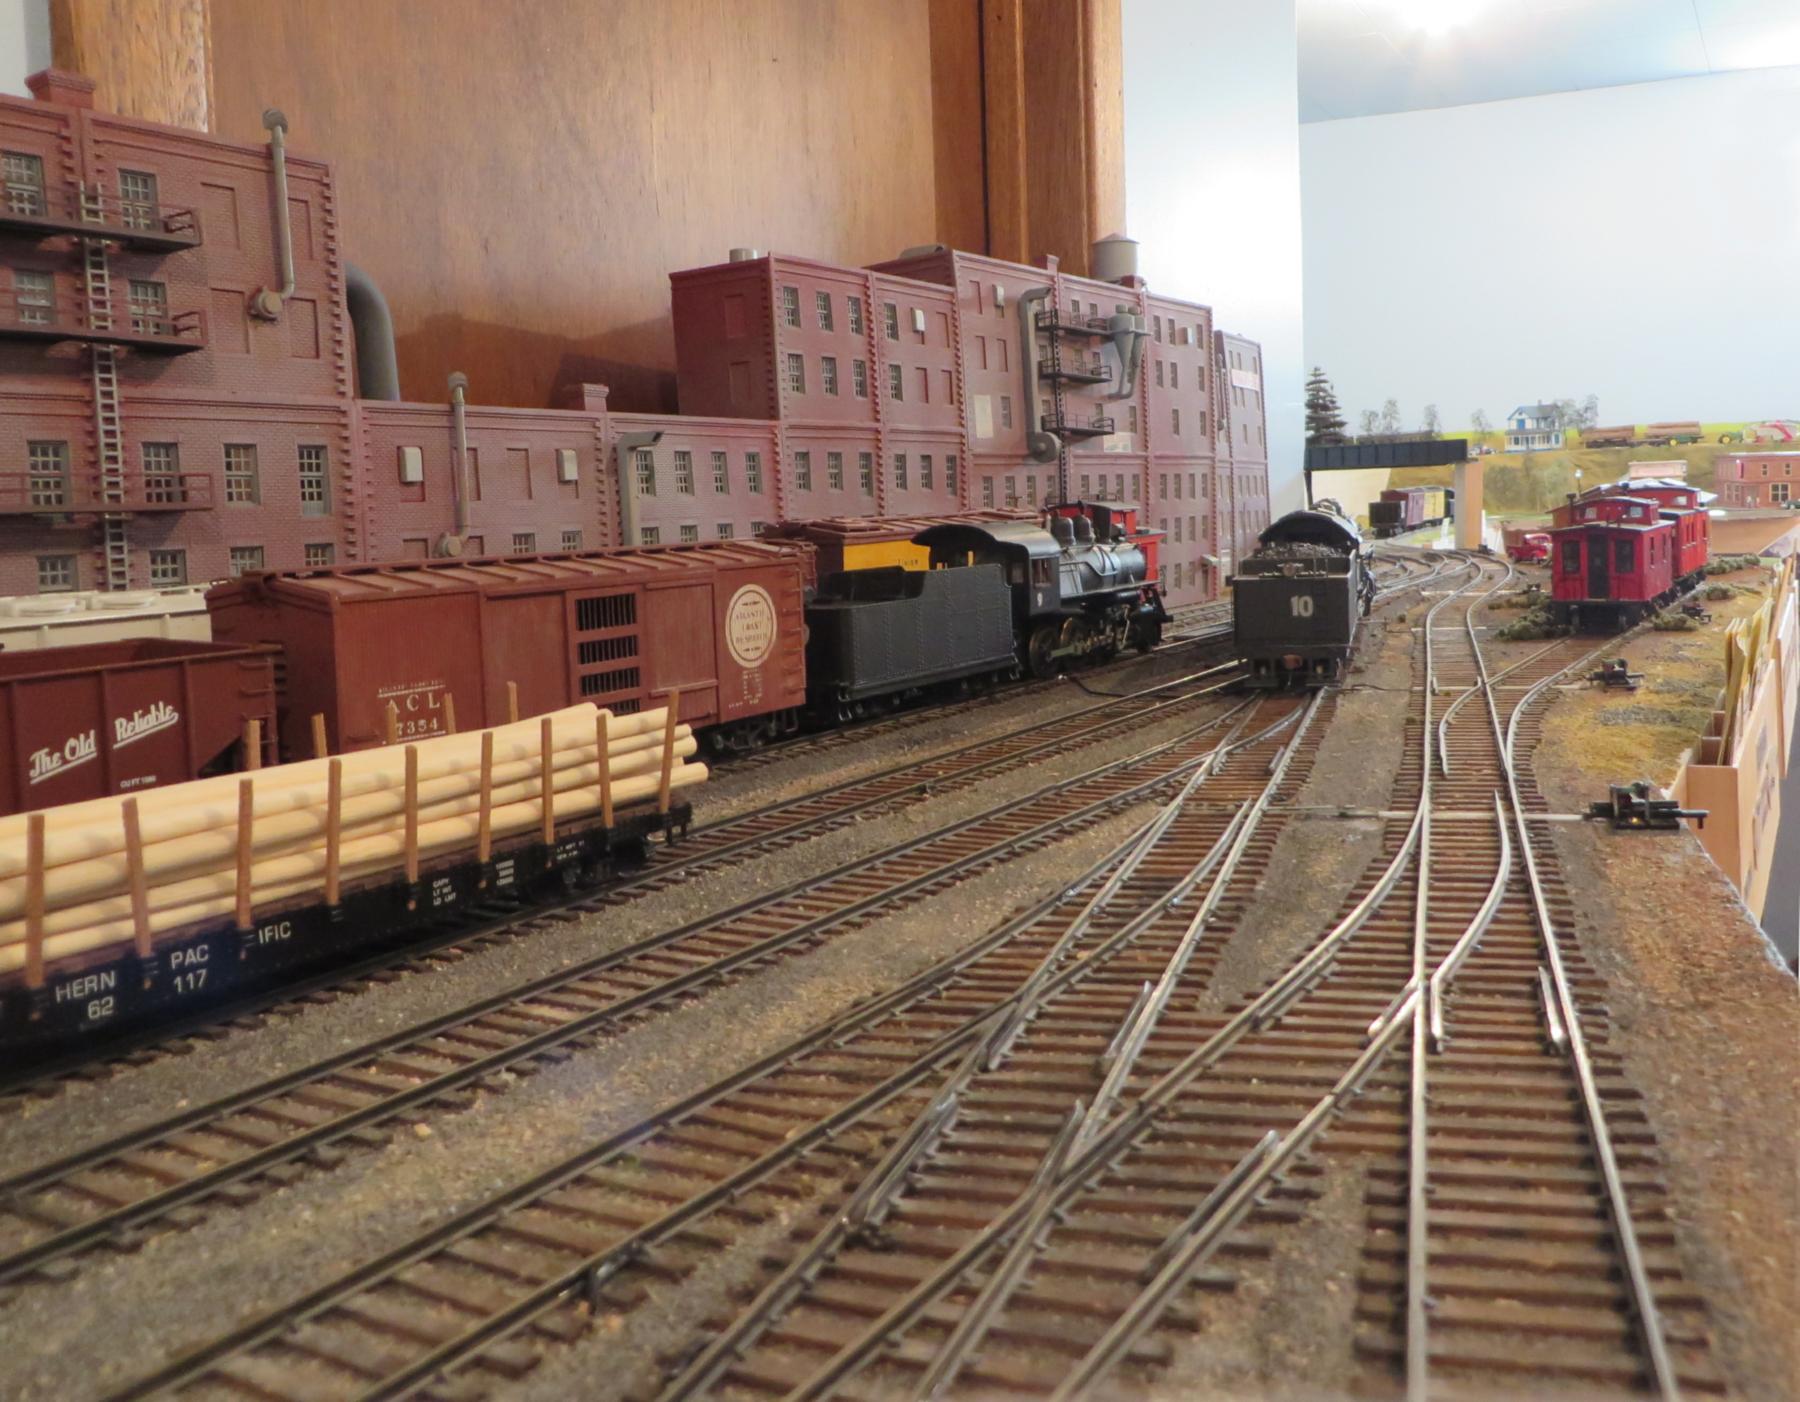
This photo was taken of the yard in the main layout space. It is a more up-to-date view of the space that is visible in the previous photo, where you can see the door as well. In the track plan, this is facing toward the wall where it states "six false front warehouses". The view is facing the yard's exit track.

This view is of the same general area, but taken in the opposite direction of the previous photo. In the track plan it would to the left of the letter "M", facing the yard.


